
What is rapid prototyping?
Rapid prototyping is an essential part of the product development process. It’s used in nearly every industry that manufactures physical products, from home appliances and auto parts to medical devices and manufacturing equipment.
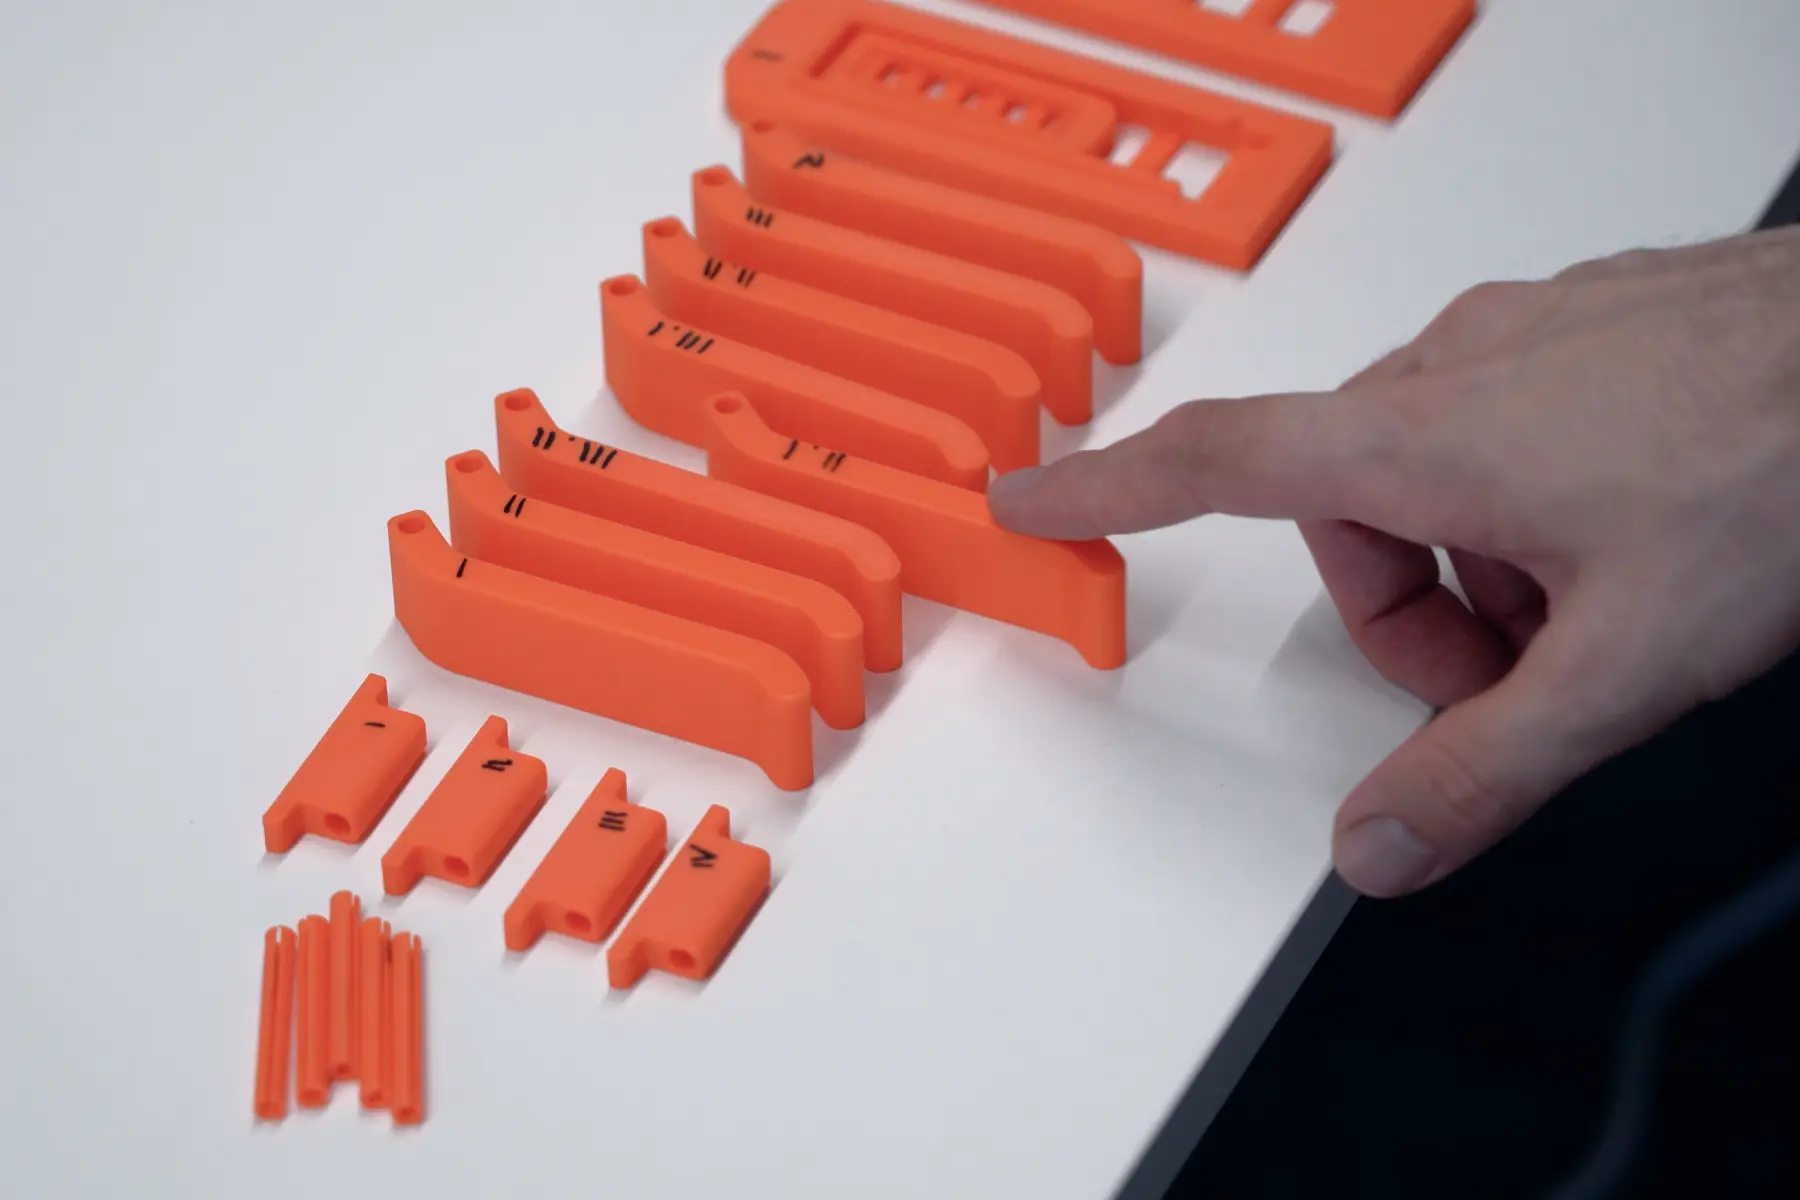
It involves creating a physical object, often multiple iterations of the same product, based on a digital 3D model. The designer and their team can physically touch, manipulate, and use the object to test its form, function, fit, ergonomics, and other critical components of the design. They use their experience and learnings from handling the product to make necessary changes to different parts of the design.
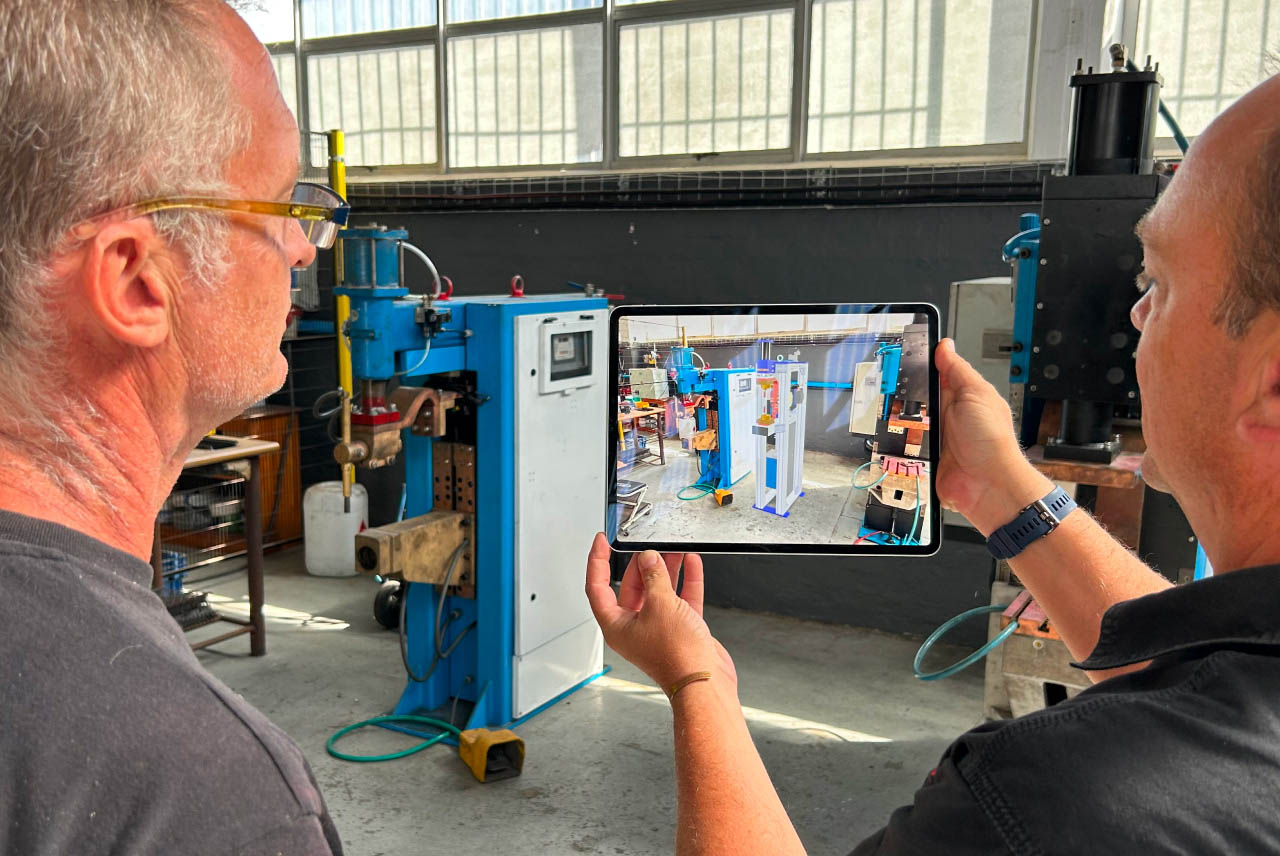
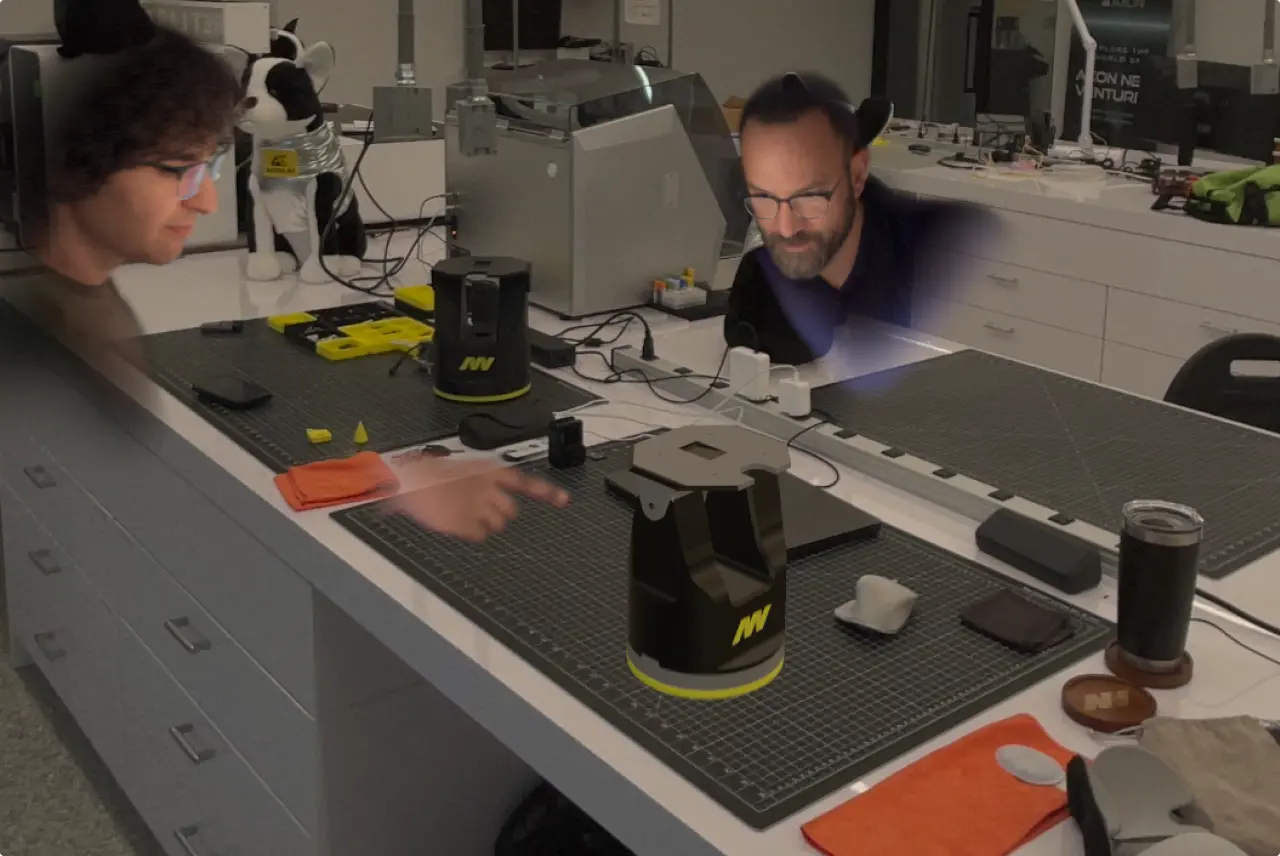
Having a physical prototype also gives stakeholders, like executives or marketers, a chance to see the product in real life. This makes alignment and approvals much easier.
3D printing is often used for rapid prototyping because its materials are relatively inexpensive and the process is usually quick. You can purchase a 3D printer and get started with a relatively low upfront cost. It beats ordering expensive prototypes that take weeks to get delivered. You could design a part in the morning and have it in your hand by the end of the workday.
Who uses 3D printing for rapid prototyping?
Professionals and home users can use 3D printing to build prototypes for their designs, making sure their ideas translate to functional physical objects.
Independent design companies, furniture makers, industrial designers, parts manufacturers, and consultants all have rapid prototyping needs. R&D, product design, and manufacturing teams within larger corporations do, too.
3D printing makes the process quick, cost-effective, and iterative, helping these users bring prototyping in house. Designers no longer need to wait until the final design to test it out, or struggle with the time and cost of working with fabrication companies.
On the DIY home front, rapid prototyping is perfect for testing brackets or mounts to make sure they’re the right size and shape. You can also print a piece to test ergonomics of a handle or grip before refining your design.
Industrial designer Robert Kovacs uses rapid prototyping for his professional and personal projects. Check out his tips in our article on designing your own 3D prints.
What are the benefits of rapid prototyping with 3D printing?
- Reduces errors. If your prototype doesn’t work properly, or if critical parts don’t fit, you can fix them early instead of in the final stages of design.
- Improves ergonomics. It can be hard to know for sure how a handle will feel in your hand by looking at a digital 3D model. A physical prototype is the only way to make sure the finished product is comfortable and easy to use.
- Allows for quick iteration. Print, test, tweak, then print again. You can respond to design feedback quicker and test many different iterations against each other.
- Saves time. You don’t have to order a prototype from a third-party company and wait for it to arrive. 3D printing takes hours instead of weeks, allowing you to test and validate more designs in a shorter amount of time.
- Lowers costs. Bringing 3D printing in house and using cost-effective filaments like PLA is generally cheaper than ordering and shipping a prototype. Even if you have to buy a 3D printer, the upfront cost pays for itself after a few projects.
- Reduces material waste. 3D printing is also known as additive manufacturing, meaning material is added layer by layer to create your model. It uses less materials than CNC machining, which is another common rapid prototyping method.
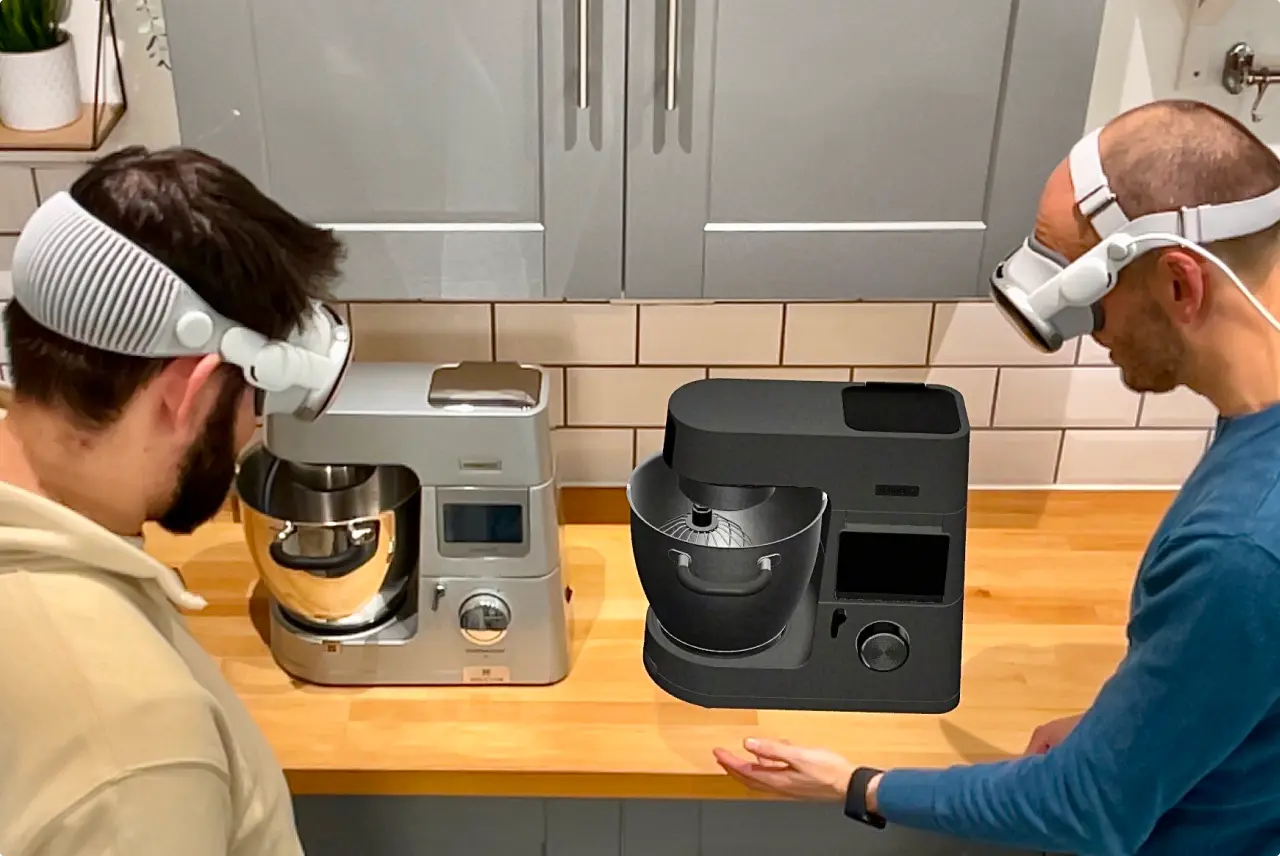
- Helps with visualization. Translating sketches or digital models into a mental image is challenging for most people, especially non-designers. With rapid prototyping, you get an accurate depiction of the product’s size, how much space it takes up, and how it looks in real life.
Rapid prototyping with a 3D printer: The process
Robert Kovacs, an industrial designer, has over a decade of experience with 3D printing prototypes for professional and personal projects, including automotive parts, a smart inhaler device, phone charger, and desktop fan.
He sees many advantages to using this method, even if the final product will be manufactured differently. “If I design something that works as a 3D printed part, I can be sure that it will also work if it’s injection modeled or CNC machined because it will be stronger and more flexible.”
Robert says that when he first started 3D printing, he would only print a prototype for the final design. Now, he prints parts early in the design process so he can start testing things right away.
Here’s his process for going from idea to final design, and how rapid prototyping fits in.
1. The ideation process
Robert usually starts a project by thinking about the product’s use case: how it will function, why how someone will use it, and any special qualities it needs to have, like strength or durability. Then, he brainstorms different ideas and sketches out a variety of designs that would meet the needs of the product.
“There’s no exact solution,” he says. “It helps to experiment with a wide variety of different ideas, even out-of-the-box ones.”
2. Narrowing down concepts
If Robert is working with a client, he shows them several options, but says his goal is not to have them choose just one design. It’s to have a conversation about what parts of each design they like best. “They might say, ‘I like this section, and the style of those. Let’s combine these three.’”
In the next round, he combines the ideas and feedback and continues to narrow down concepts until they get to the top three.
If he’s working on a personal project, he might do the same — refining his top ideas and choosing which one to 3D model.
3. Creating a 3D model
Next, Robert uses CAD software to create a digital 3D model of his design. This allows him to start to refine dimensions and think about how the object will be manufactured. It also gets him a step closer to an actual prototype, because in order to 3D print something, you need to have a 3D model.
4. Slicing and 3D printing a prototype
If the product is something users have to hold and manipulate, Robert often prints a prototype right away, even if the design isn’t finished yet. “It’s hard to tell if something is comfortable from the 3D model alone,” he says. “You might think something is comfortable, but it’s not, so you have to tweak it.”
Prototyping is more about speed and holding a physical object than it is about quality or durability. You can adjust your slicer settings so the object will print faster and use less material:
- Increase the layer height, choosing a thickness that optimizes speed
- Decrease your infill to 10% and use the zigzag or “lightning” pattern
- Decrease your wall thickness — try 1mm and adjust from there
- Use your slicer’s Cut tool to chop the model into parts, and print just the section you need to test
5. Finalizing functional parts
Robert looks carefully at the functional and moving parts of the prototype and aims to test and refine those critical pieces first. This might include gears and ratcheting mechanisms, screw holes, and spaces where an electronic component might need to snap into place or line up with an outer hole.
“If I know it works, I can focus on the styling and create different variations or styles with the same technical pieces.”
He might tweak and 3D print the same gear or frame multiple times to get the fit and function just right. That’s the advantage of rapid prototyping — he can be confident that the most critical parts work, instead of finding out at the last minute that they don’t.
6. Adding detail and style elements
At this point, Robert knows his functional parts are working, so he can focus on style. Whether he’s going for modern, classic, minimalist or something else, he adds details that match that aesthetic. If the functional part will be visible, he can adopt it for that specific style.
7. The final prototype
When a design is finished, Robert prints the final prototype. If it’s for a personal project, he may use it for a few days or weeks to test it out. Sometimes, he’ll see that a design isn’t working quite the way he wants it to and will return to his 3D model to make additional changes.
How Shapr3D improves rapid prototyping
Rapid prototyping is all about speed. It allows teams to test a bunch of new ideas, fail fast, and learn quickly, without spending too much time or money on concepts that won’t work.
The traditional approach, which usually involves building a prototype of the final design, doesn’t provide designers with the quick iteration and testing environment that lets them think creatively and innovate.
3D printing provides the ideal method for rapid prototyping, but there’s one more piece to the puzzle that’s just as important: the 3D design software. When designers need to iterate, print a prototype, incorporate their learnings into their design and reprint quickly, it helps to have a 3D modeling tool that makes that process as smooth as possible.
That’s where Shapr3D comes in. It’s used by product design and manufacturing teams to shorten the timeframe between design and print, so feedback gets acted on quickly and there’s no delay between your last and next prototype.
Shapr3D is great for rapid prototyping and 3D printing because it’s:
- Easy to learn. You don’t have to have CAD experience to use Shapr3D. With built-in tutorials and an intuitive interface that only shows you the tools you need for the next step, anyone with an idea can create a model and 3D print it
- Easy to model. Manipulate your model by grabbing and pulling faces and edges, or typing in exact dimensions. If you have an iPad and Apple Pencil, modeling is even more intuitive and fast, so you can get ideas down quickly.
- Easy to edit. Shapr3D has history-based parametric modeling capabilities, which means you can change a parameter and the rest of the model updates to preserve design intent. If you change the width of a plate, the screw holes are still placed three centimeters from the edge where you want them.
- Exports compatible file formats for your slicer, like 3MF, STL, and OBJ.
- Precise. Shapr3D produces watertight geometry without holes or gaps, which is exactly what your slicer software needs.
Try it for yourself: download Shapr3D for free, and you’ll be on your way to your first model in 15 minutes.